10 tips for macro photography
10 tips for macro photography
In macro photography, the smallest details in nature get our full attention. The following tips will help you take good photos faster.
When it comes to macro photography, beginners often think of two things.
- A fast shutter speed to freeze movement, be it the wind moving a leaf or branch, an insect crawling away.
- An aperture that is as closed as possible for a great depth of field.
Both significantly reduce the light that we urgently need on the sensor. Compensating with a high ISO value can cause a lot of noise, especially in macro photography. This can destroy all the fine, small details in the image.
A flash not only provides more light here, it also helps to freeze the subject. Let's take a look at the basic settings:

#1 Camera mode
In macro photography, we want complete control over all camera settings. That's why we select Manual mode (SONY camera M) here.
#2 ISO
With flash
It is recommended to set the native ISO value of the camera as a basis or a low value, e.g. ISO 100
Without flash
ISO 200 to 800, depending on the light.
Avoid direct sunlight on the subject.
#3 Shutter speed
With flash
1/30 to 1/250
Without flash
1/200 or more (depending on subject/light)
A slower shutter speed combined with a flash can bring out the color of the background. Otherwise it will be dark or black.
#4 Aperture
With flash
F5.6 to F11
Without flash
F2.8 to F5.6 (we need more natural light here)
With magnifications (2x or 3x)
F2.8 - F4.0
#5 Flash settings
Here, too, we want full control over the flash. That's why I also use manual mode.
A good starting value is 1/16, check the image briefly and then adjust the value accordingly. At 1/1 you have reached the maximum power of your image.
Adjust the zoom of the flash so that the light is nicely distributed on the diffuser.
#6 Focus mode
Lenses such as the SONY SEL90M28G (90mm macro) have autofocus. However, this is not very helpful.
With manual focus, we also have full control here. Also switch on the focus peaking function in your camera. Choose a color (e.g. red) that stands out well against the subject and background.
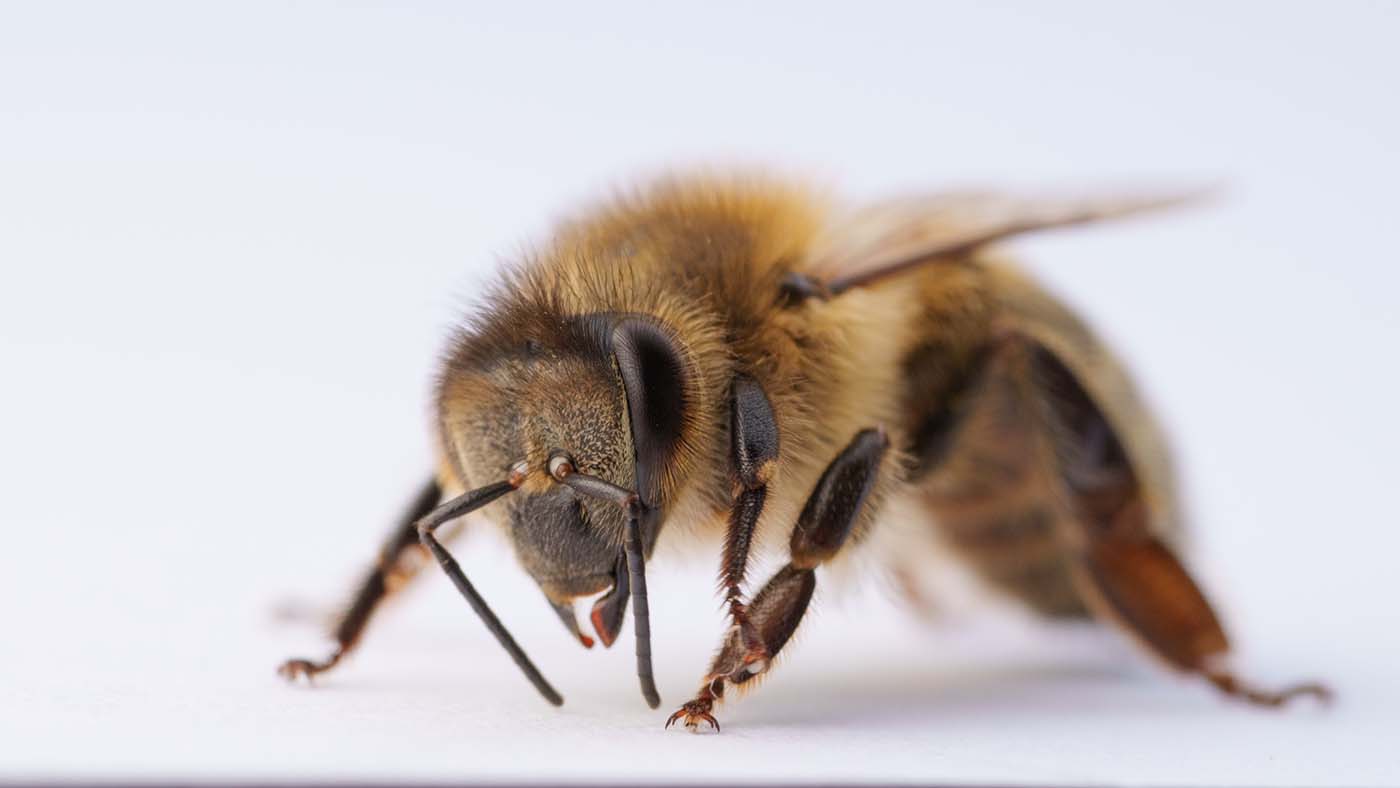
Now move the camera slightly back and forth and you will see how the focus area shifts. Try placing this area on an eye in the case of insects, on the blossom in the case of flowers, for example, or simply on the highlight that you want to emphasize.
#7 Enlargements
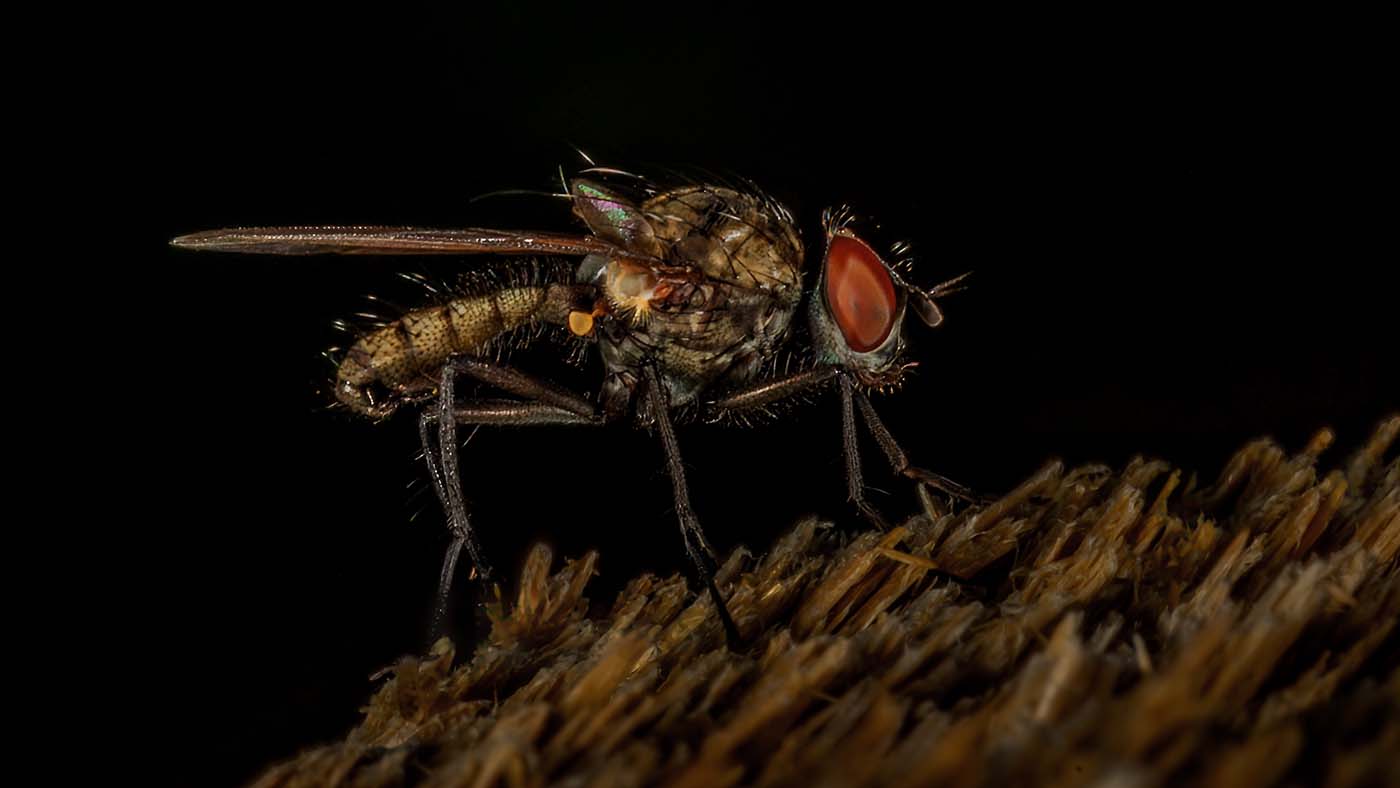
You have probably already seen fascinating pictures of insect eyes. Lenses with magnifications such as those from LAOWA are used for such photos. But you can also do this with a lens attachment like the one from raynox.
As depth of field is lost with increasing magnification, focusing is a little more challenging. With a little patience and practice, however, you will soon be able to take such fascinating photos.
#8 White balance
Depending on the light and flash, it may make sense to set a fixed white balance. So if you are not satisfied with the result of your camera's AWB, set it manually to 5,600k.
#9 File format
I shoot exclusively in RAW. This offers me the most possibilities in development/post-processing. It is often possible to "rescue" a good but not quite optimal photo. White balance, colors and contrast also usually greatly enhance the fine details.
#10 Control
Before you leave a location, it is advisable to take a quick look at the photos. If I have a perfect picture and the focus is where I wanted it to be, I evaluate the picture in the camera straight away. This makes it easier for me to sort out at home on the PC and I'm sure that I've hit the mark.
My equipment & settings
Camera: SONY a1
Macro Lens: SONY SEL90M28G
Flash: Godox V860IIs or V1s
Diffuser: pope shield
Shutter speed : 1/200
Aperture: F/11
ISO: 100
Flash: 1/1
Questions or suggestions?
Then I look forward to your message or comment.
A comment
Kommentieren Antwort abbrechen

You need to be a part of a contest for one of the greatest websites on the internet. Im going to recommend this site!